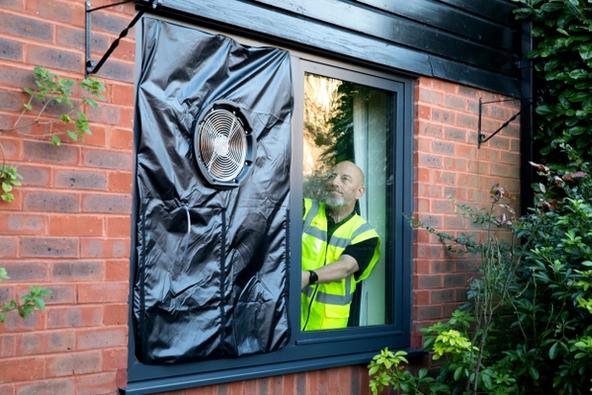
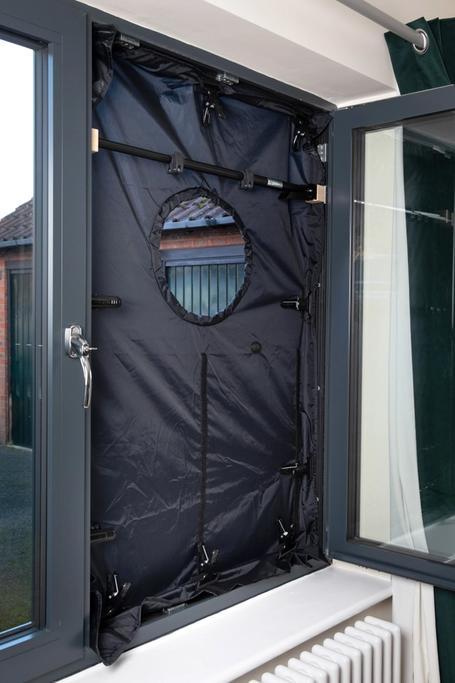
The sealing sheet is fixed within an open window so that one side is exposed to the inside of a house and the other side is exposed to the outside world. Clamps (included) are used to ensure a good seal around the sheet so that the fan can generate a pressure difference between inside and outside.
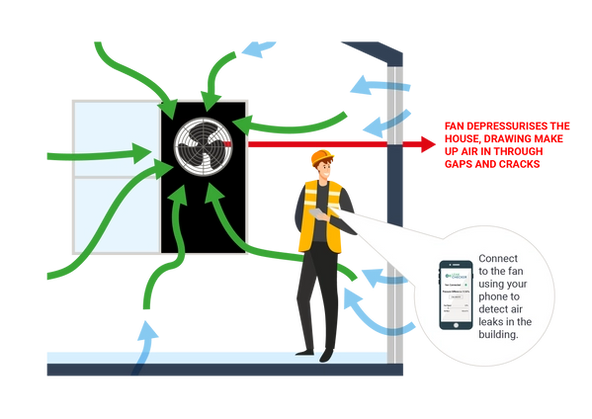
Finding air leakage paths
Improving building air tightness at all stages
The fan creates a pressure difference allowing air leakage paths to be felt with your hand or visualised with a smoke pen or thermal imaging camera. This allows diagnostics and sealing works to be carried out independently and at all stages of a build.
Process for identifying air leakage paths using Leak Checker
Finding and fixing unwanted air leakage paths can be done in a matter of minutes, saving time and money.
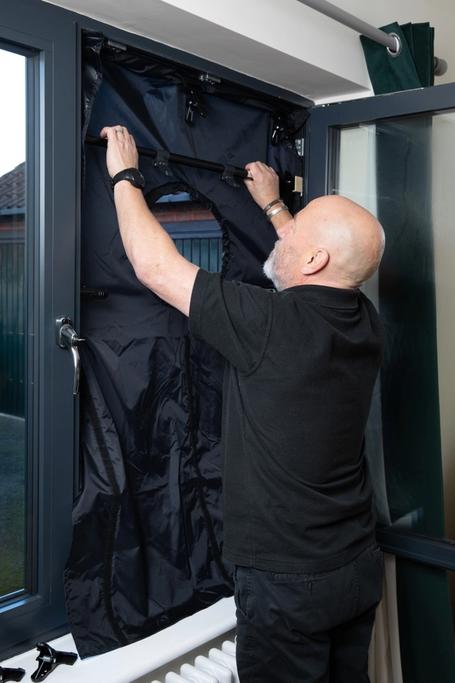
Install the sealing sheet
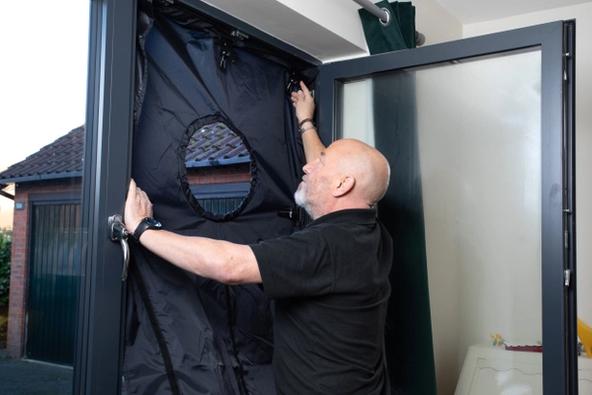
Install the mounting rail
The mounting rail is an extendable pole that is wedged horizontally within the window frame or recess. It provides support for the fan whilst mounted in the sealing sheet.
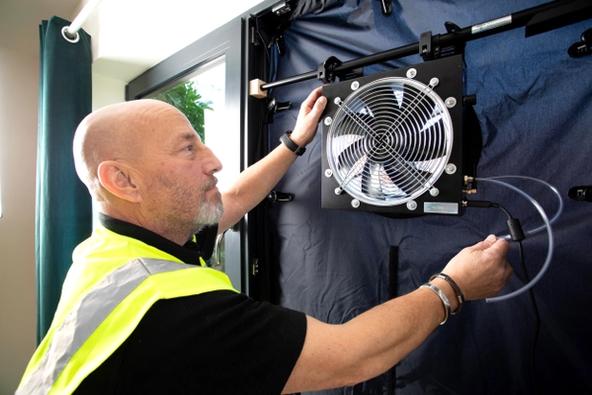
Attach fan unit
The Leak Checker fan is attached to the mounting rail by simply hooking it on. The fan aperture is then passed through the hole in the sealing sheet to create a well-sealed barrier. Internal/external pressure sensor tubes are then connected and the power adapter is plugged in.
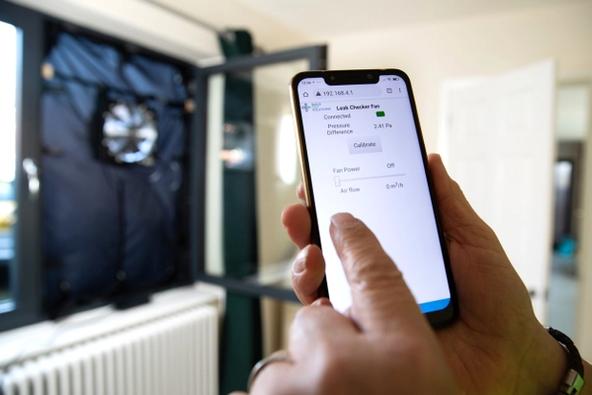
Increase fan power to create pressure difference
The fan is powered on and controlled via a web-based app. The fan speed, air flow rate and pressure difference can be adjusted to allow you to detect air leakage paths be feeling for noticeable draughts around the room or using a smoke pen or thermal camera to identify leakage paths around fixtures and fittings.
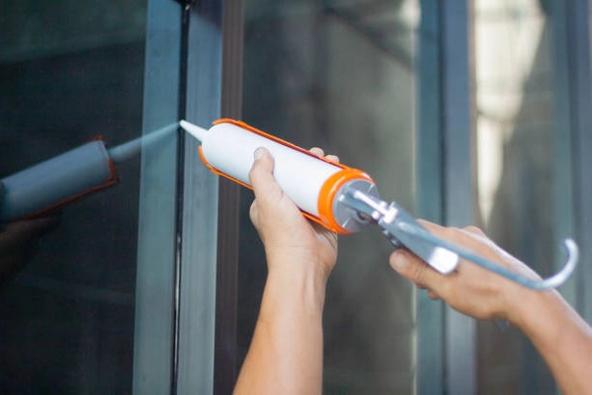
Carry out diagnostics and remedial work
With the fan still running, diagnostics and remedial work can be carried out to seal the identified air leakage paths.
Power down and pack away
Once diagnostics are complete, the Leak Checker fan can be powered down and packed away ready for the next job.